


JakefaceCustoms
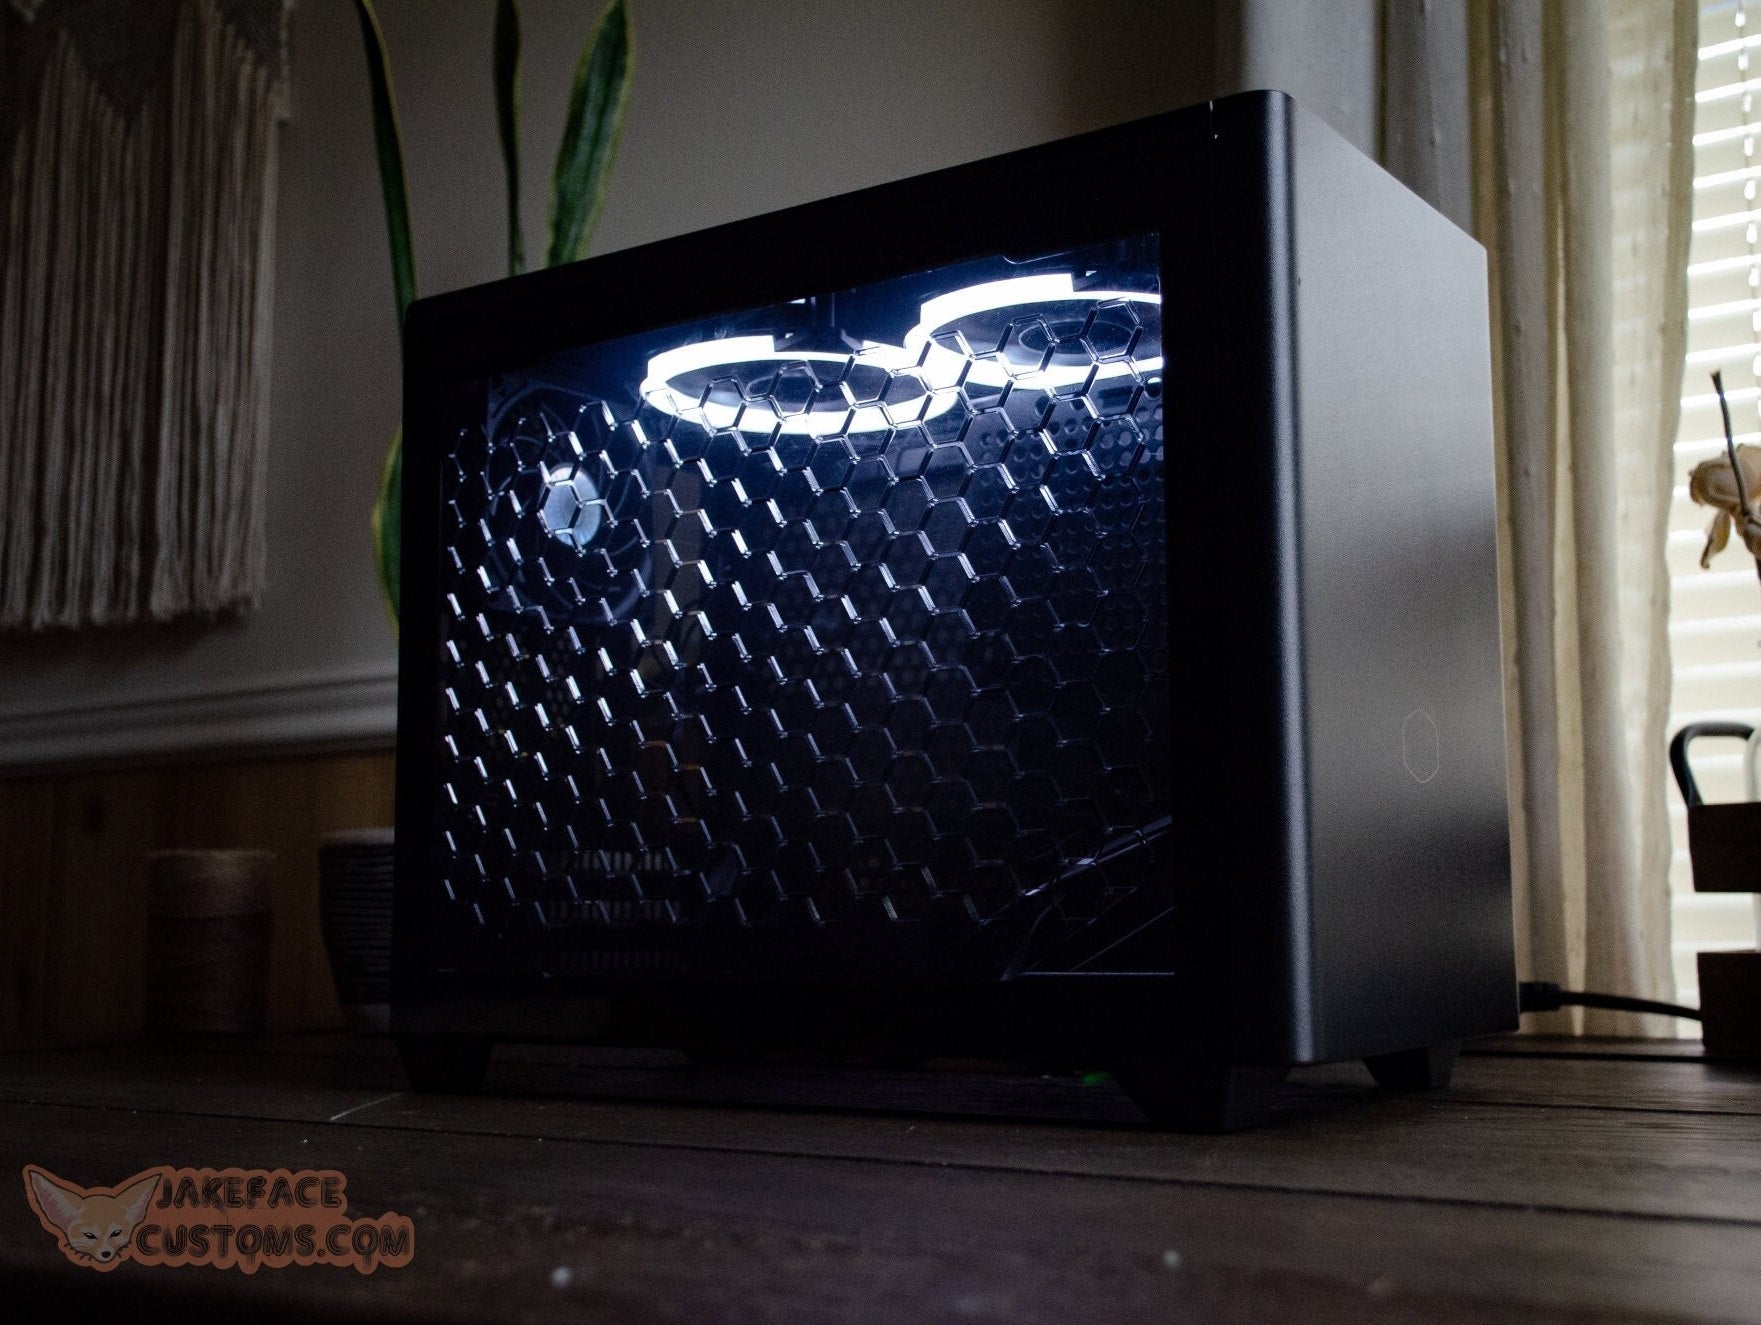
The Original Cooler Master NR200, NR200P, and NR200 MAX Custom Vented Side Panel
The Original Cooler Master NR200, NR200P, and NR200 MAX Custom Vented Side Panel
Couldn't load pickup availability
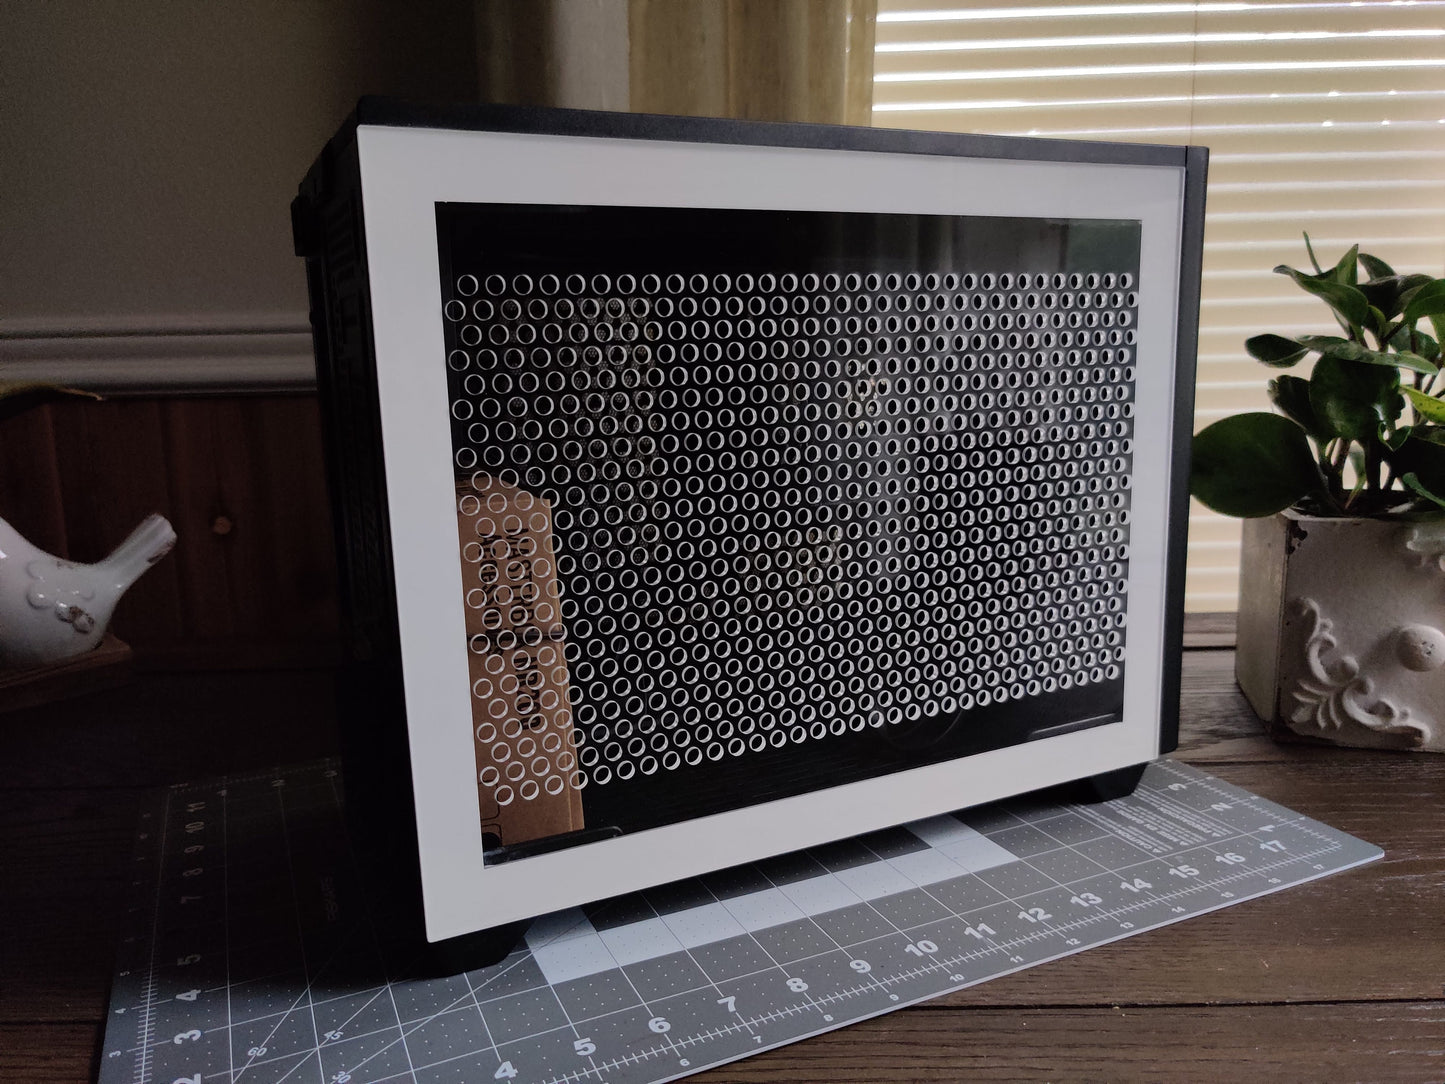
BLACK OR WHITE BORDER AVAILABLE, PLEASE LEAVE A NOTE ON THE ORDER WHICH YOU'D LIKE. DEFAULT IS BLACK.
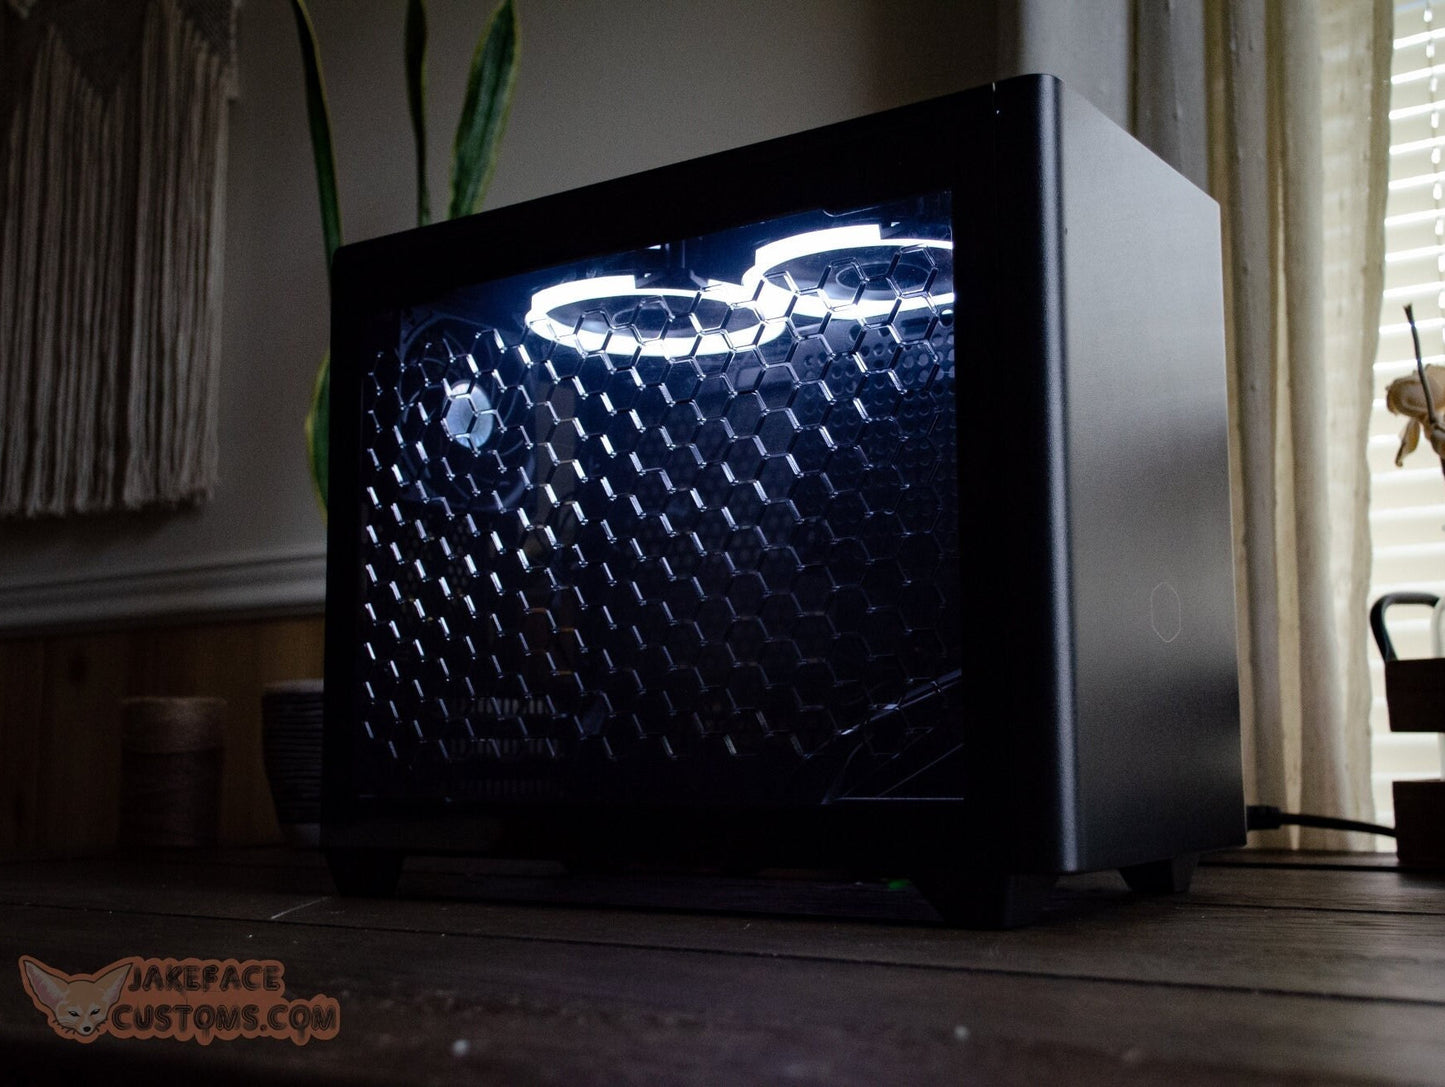
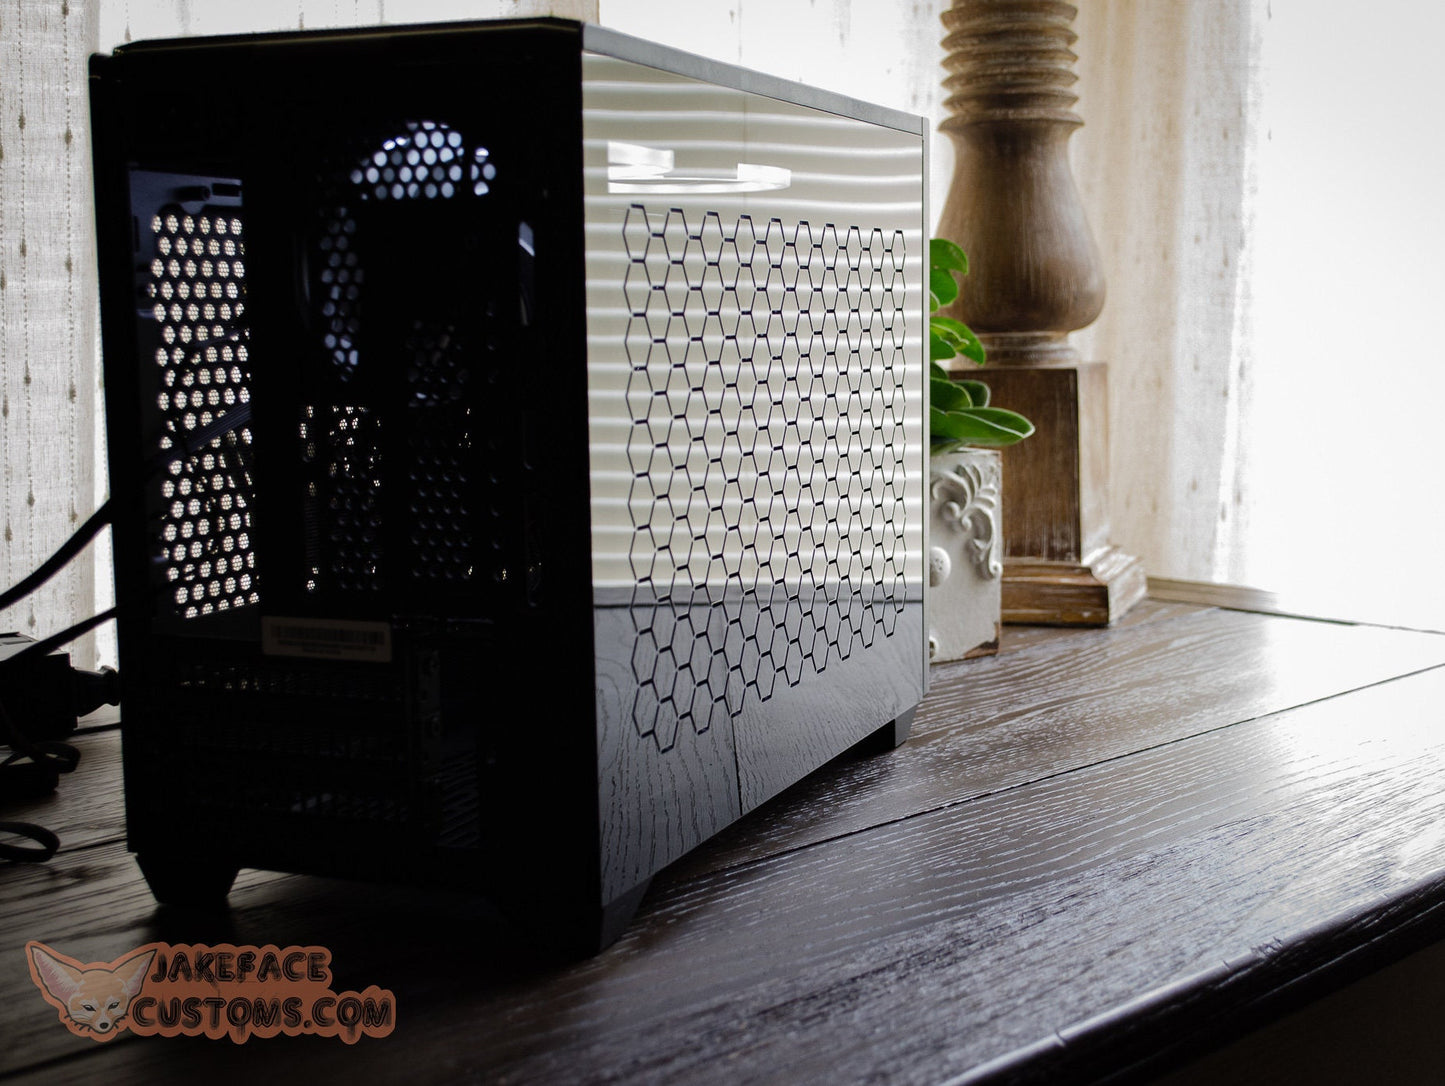
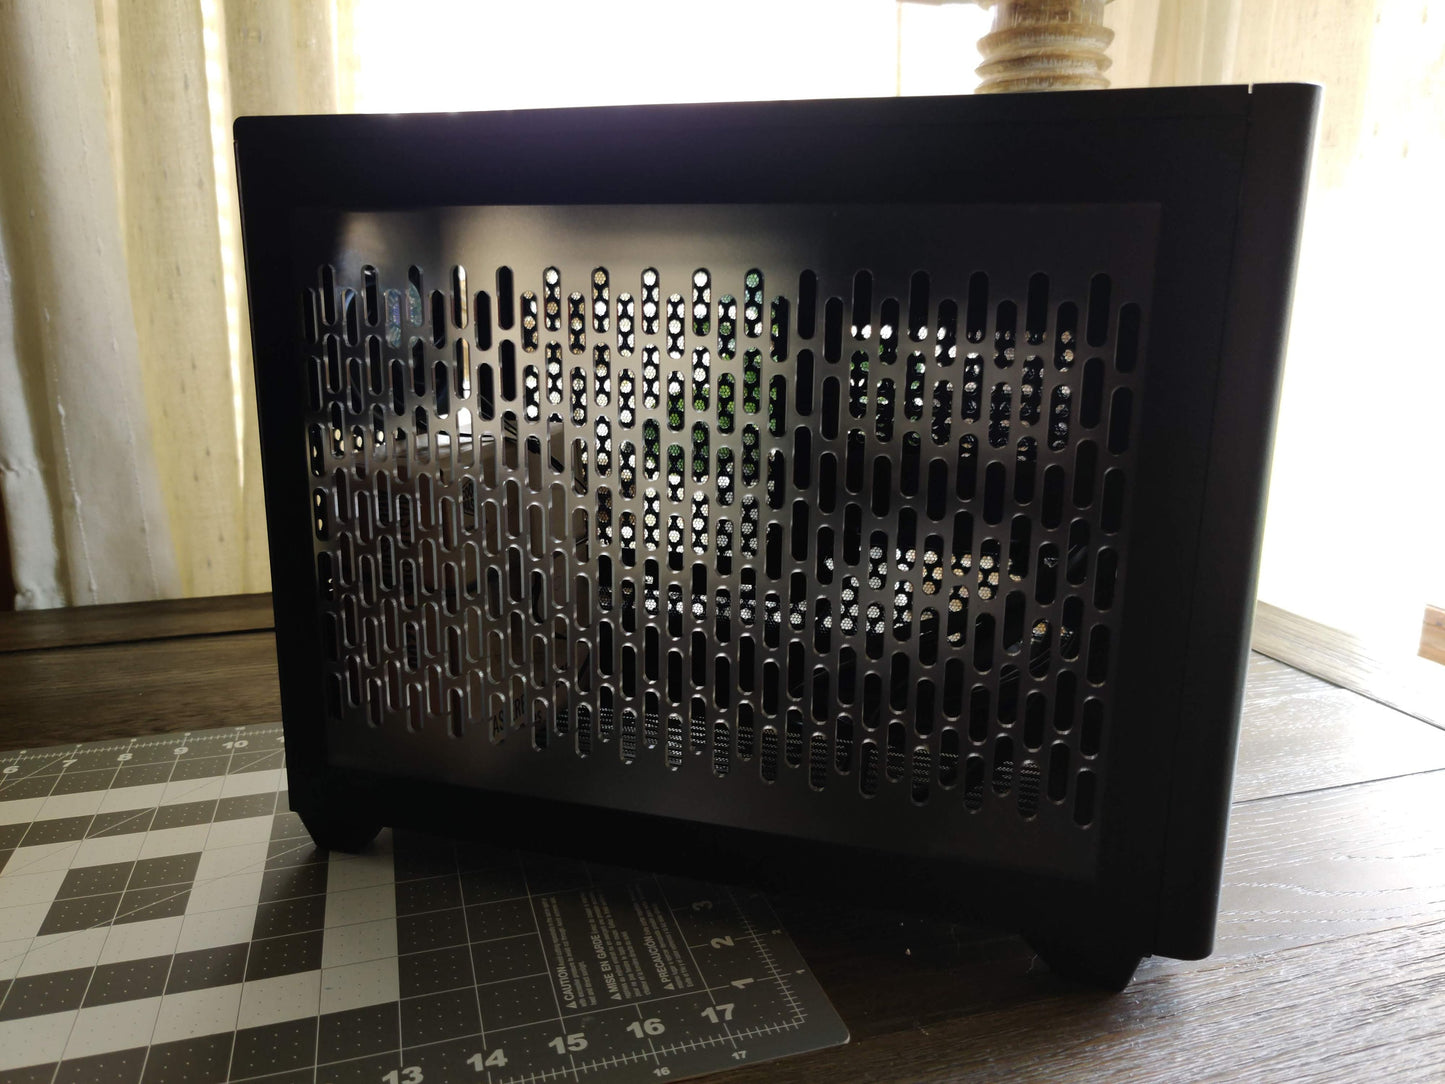
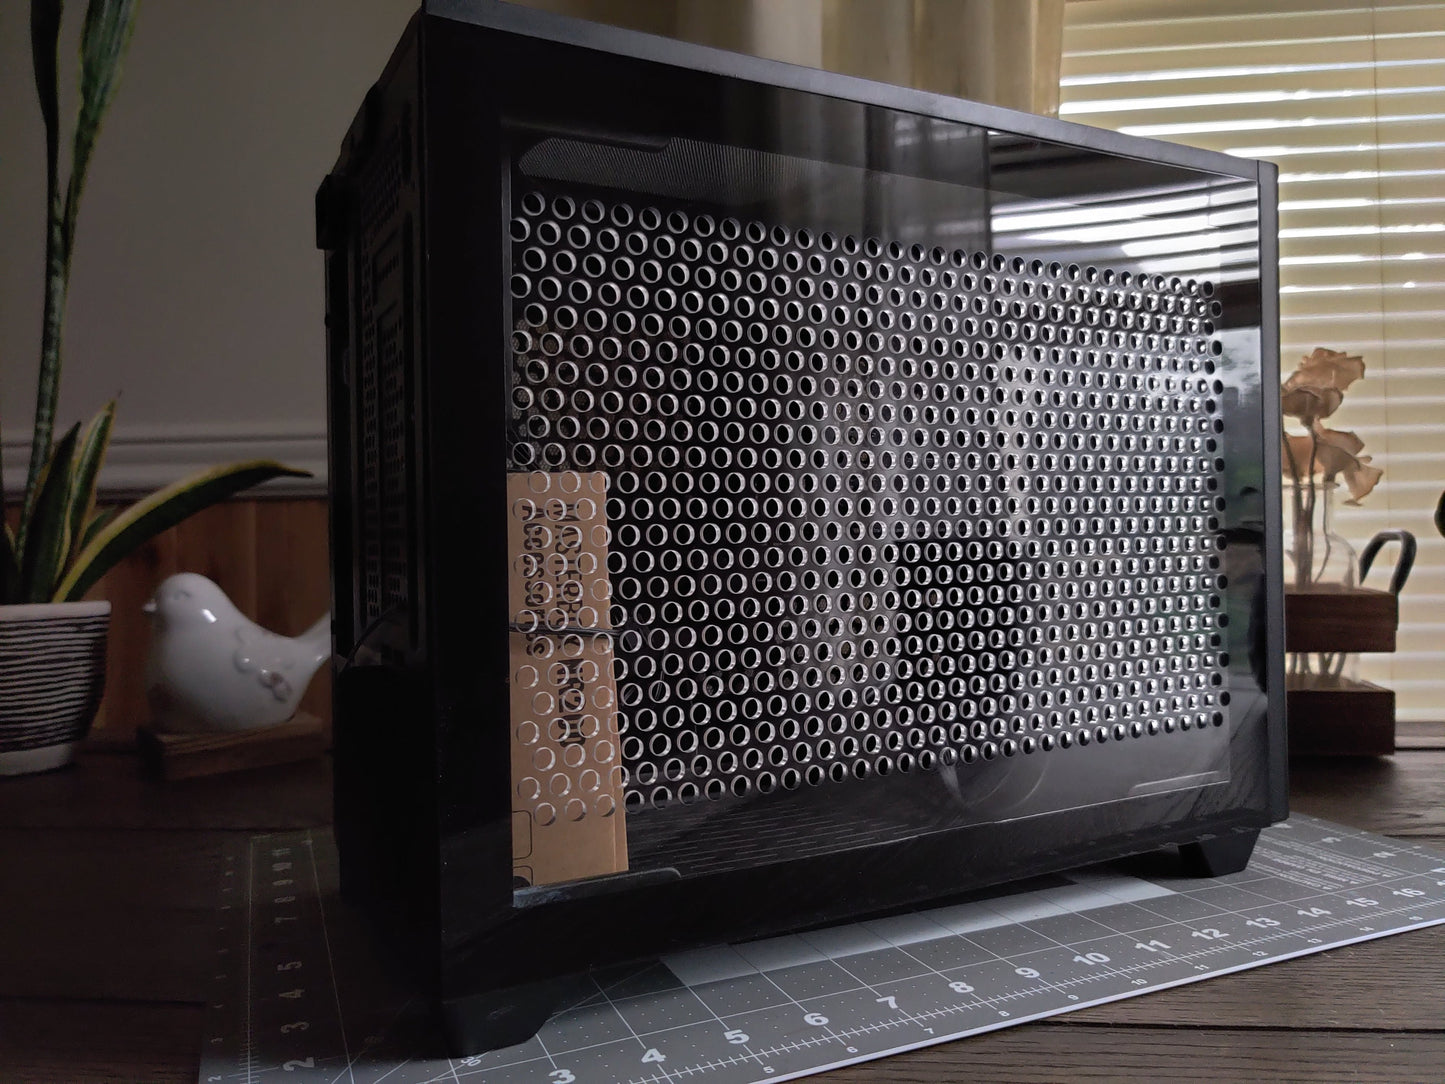
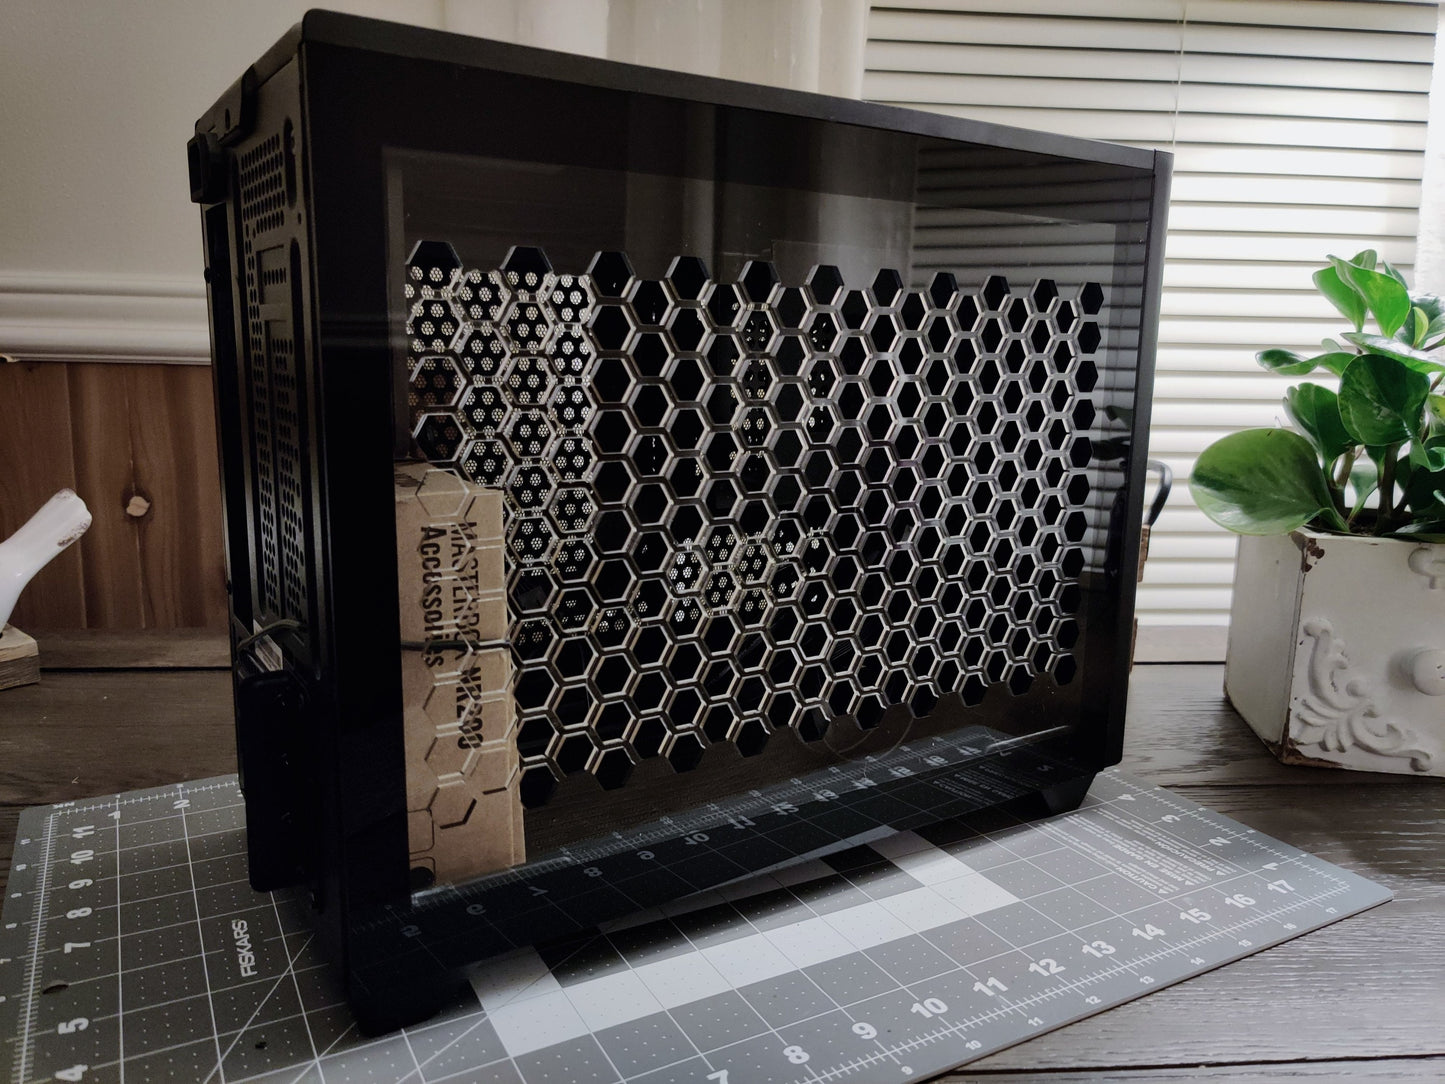
Looking for the best of both worlds for the Cooler master NR200? This custom acrylic vented panel offers added ventilation and clarity. Uses a custom 3D printed frame simulating the original mounting mechanism. Installation is the same as the original side panels. simply pop into place. No mods to the stock case are needed for this panel!
All panels work with NR200, NR200P, and NR200 Max.
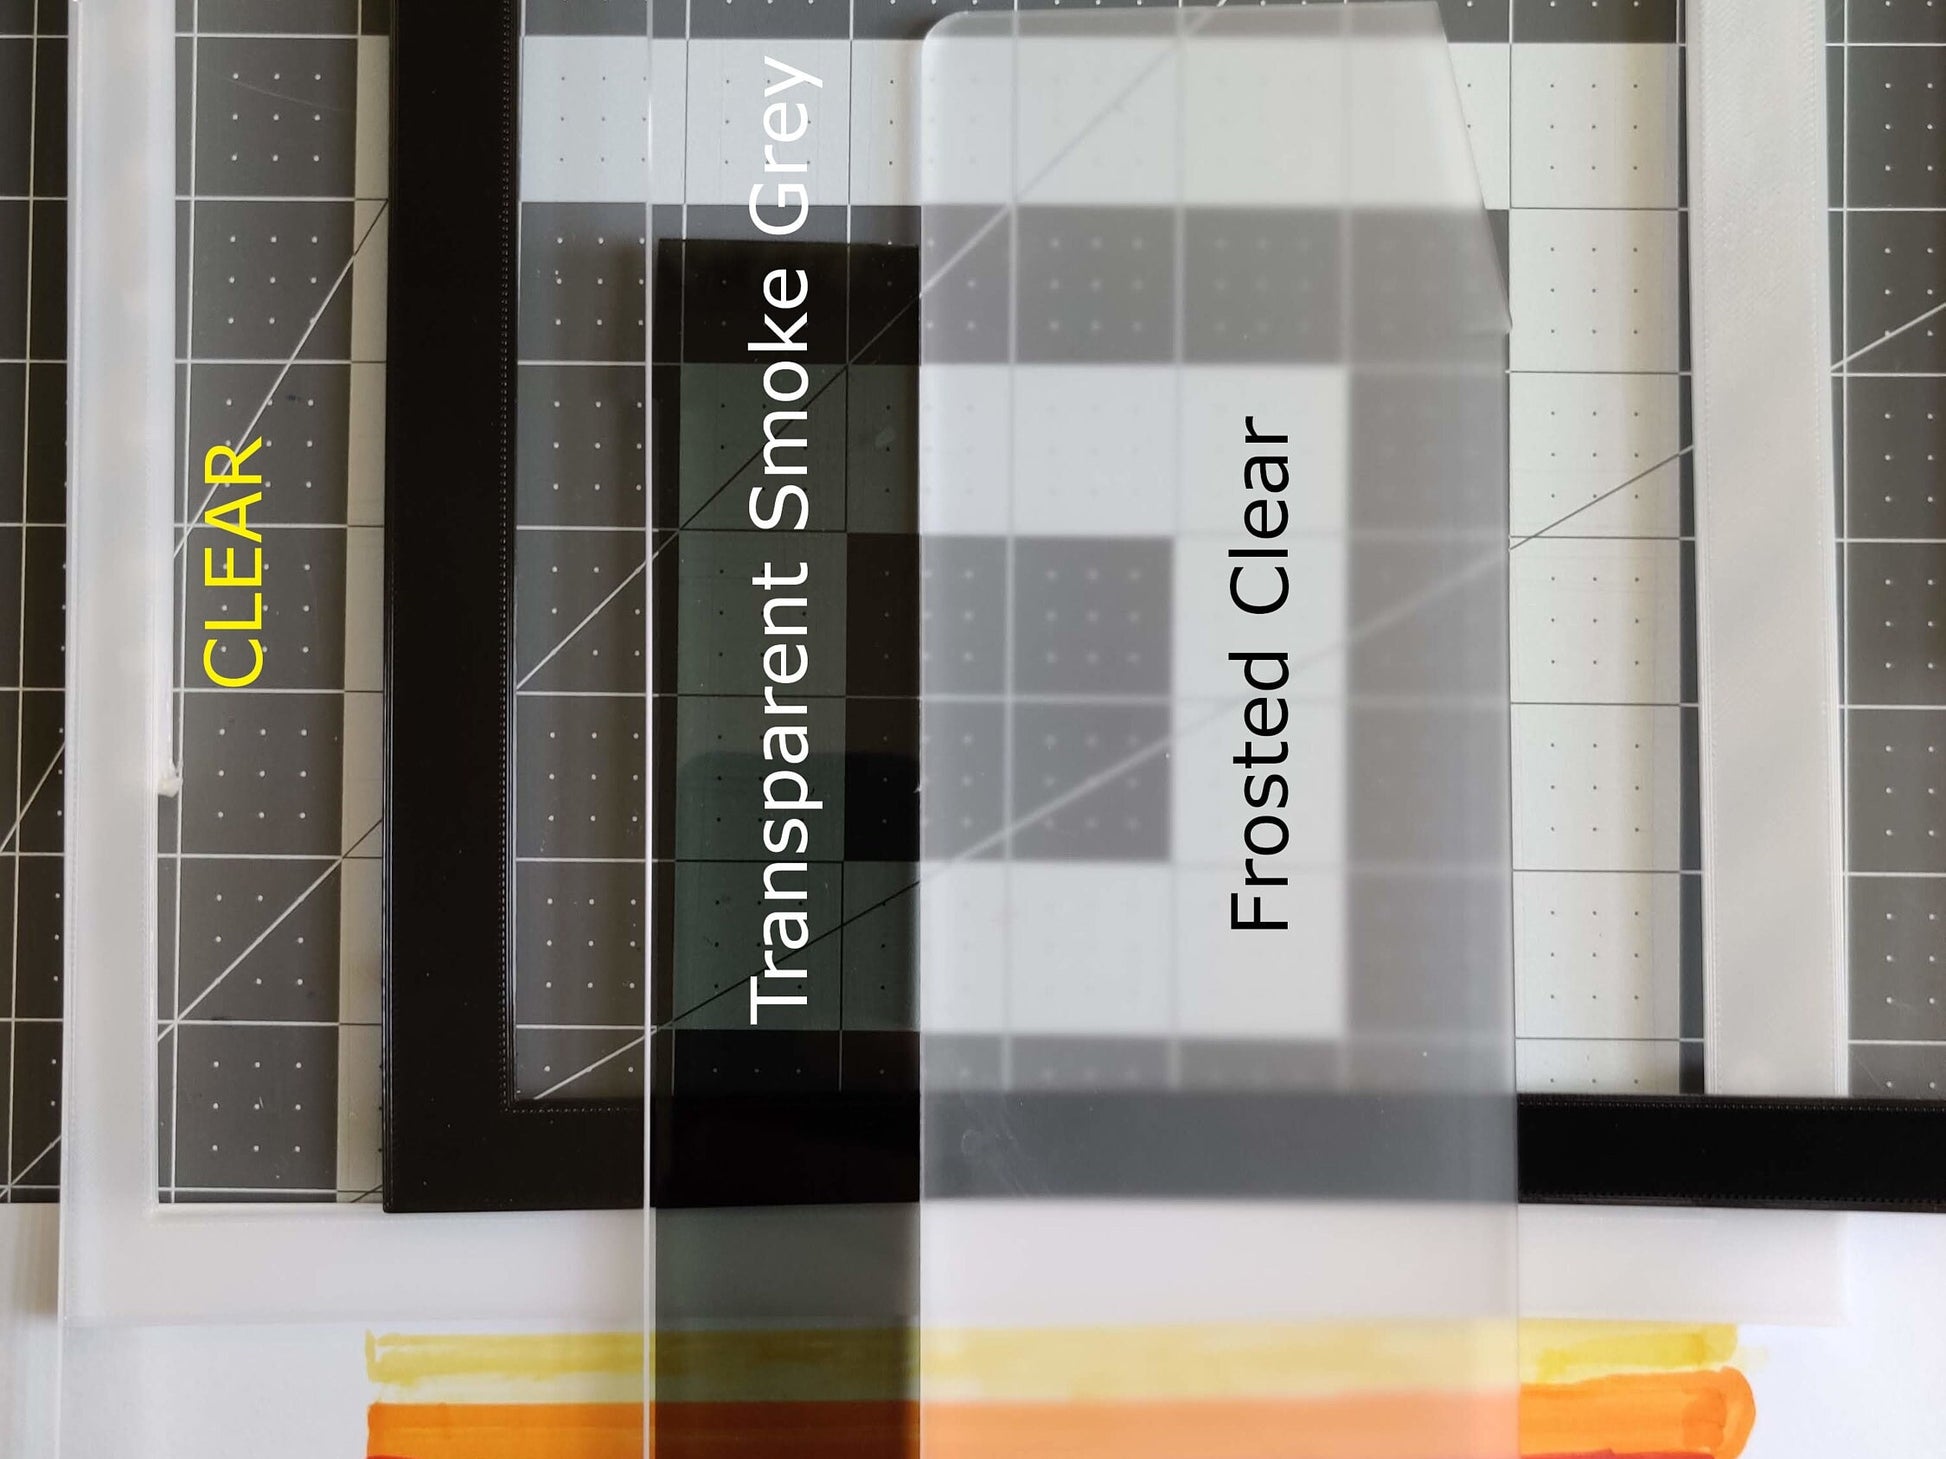
Panel Colors:
Transparent smoke grey - A slightly tinted transparent acrylic, looks great on the black case.
Frosted Clear - Clear acrylic with a diffused matte frosted appearance
Clear - Standard clear acrylic
Walnut - Walnut wood panel with a semi gloss clear coat
Border Colors:
Black and White - LEAVE A NOTE IN THE TEXT BOX IN THE CART
Shipping time: These are made to order and with the 3Dprinted frame and how its constructed, expect about 1-2 weeks to ship.
*Only the panel is included, case and other accessories seen in images are for display only.
*This is a late stage prototype
*As with all handmade items, expect some minor defects or blemishes
*Acrylic comes with the paper installed on both sides, to protect from scratches during shipping.
*Dust filter is not included.
Materials: PETG,Acrylic


Collapsible content
Installation
H510 Side Panel
If your new panel isn't fitting easily or you have a newer
model, check the front left corner of the case near the
bottom. There may be a metal tab blocking installation.
Simply bend down that tab in order to have an even fit.
H510 Front Panel
Remove both side panels. On the upper part of the case,
there is a little screw on either side that must be removed
for the original panel to pop off.
If the replacement panel is not fitting easily, especially if
you have a newer model: check the front of the case near
the left side for a small plastic wedge piece. This wedge
serves no purpose and must be removed for the front
panel to fit as intended.
H1 Front Panel
Before installation, remove the six rubber pads on the
front of the case (beneath the factory panel.)
Optional Fan Filters
If you purchased fan filters, these can be installed on the
front or back of your fans using the existing screws
already holding your fan in place.
A4H2O, Meshilicious, Q58, Ncase M1 and any other panel
with pins/pegs:
CAREFULLY and GENTLY install and remove!
Install: line up the pins and they should easily pop into
place (Don't smash!)
Remove: Remove carefully, one pin at a time while
keeping the panel close to the case. Do NOT yank or rip
the panel off from an angle or one side!
TIPS
- Installs like the stock panel!
- No modding required!
SHIPPING
- All international orders include Insurance
- International customers: Tax, duties/VAT may be collected at time of delivery.